In this project we will integrate SonarQube in Jenkins and automate security testing with a CI/CD pipeline.
Technologies:
- Jenkins (Local installation)
- SonarQube (Dockerized) We will use a vulnerable web application named Vulnado (https://github.com/ScaleSec/vulnado) for testing.
Jenkins installation There are different way to install jenkins but I chose the easiest way to install jenkins. You can install jenkins with package managers like apt/snap or you can follow these installation method https://www.jenkins.io/doc/book/installing/linux/ . Also you can run Jenkins on Docker but this is not preferred.

Docker installation We are installing Docker to run SonarQube on Docker. You can use apt/snap package managers for installing Docker too. If you can’t reach these package managers you can use other installation methods.
 Okey now we have installed Jenkins and Docker. We will install SonarQube on Docker but
before that let’s configure Jenkins.
After your installation you can reach Jenkins’s web interface from browser localhost:8080
(default)
hint: jenkins starts on the 8080 port by default. You can change the port in web interface but
sometimes you need to start jenkins from a different port. To make it you you should go to
jenkins directory /opt/jenkins/ or /snap/jenkins generally. And run this command
java -jar jenkins.war —httpPort=<port_number>
Okey now we have installed Jenkins and Docker. We will install SonarQube on Docker but
before that let’s configure Jenkins.
After your installation you can reach Jenkins’s web interface from browser localhost:8080
(default)
hint: jenkins starts on the 8080 port by default. You can change the port in web interface but
sometimes you need to start jenkins from a different port. To make it you you should go to
jenkins directory /opt/jenkins/ or /snap/jenkins generally. And run this command
java -jar jenkins.war —httpPort=<port_number>
And here we have Jenkins
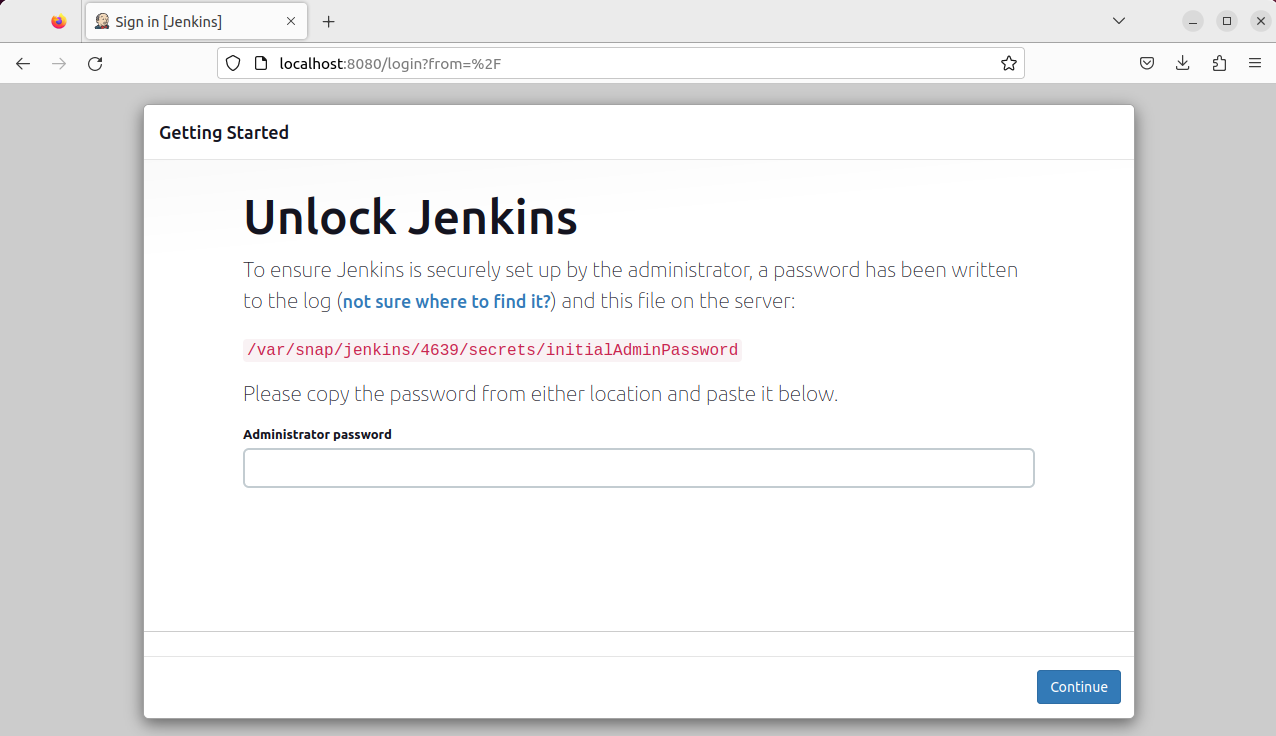
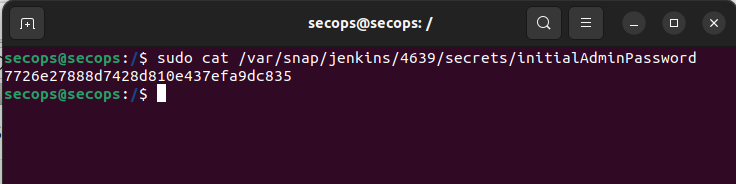
This is how I learned the password.
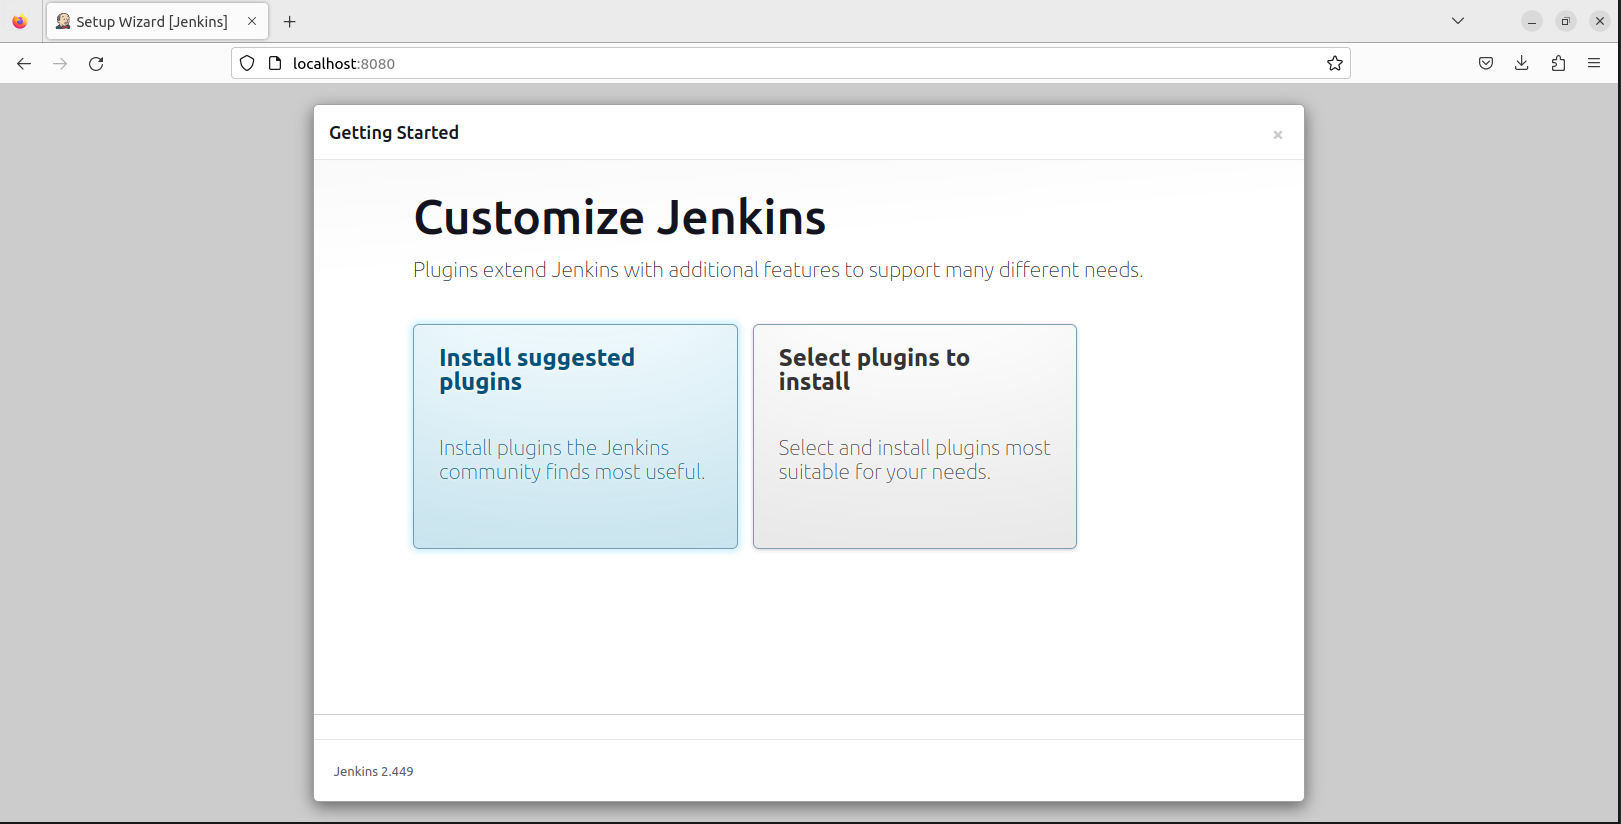
After you logged in Jenkins asks which plugins to install. I chose suggested plugins (sometimes installation of some plugins may be fail, this is not a big problem just click “retry” button and it generally works)
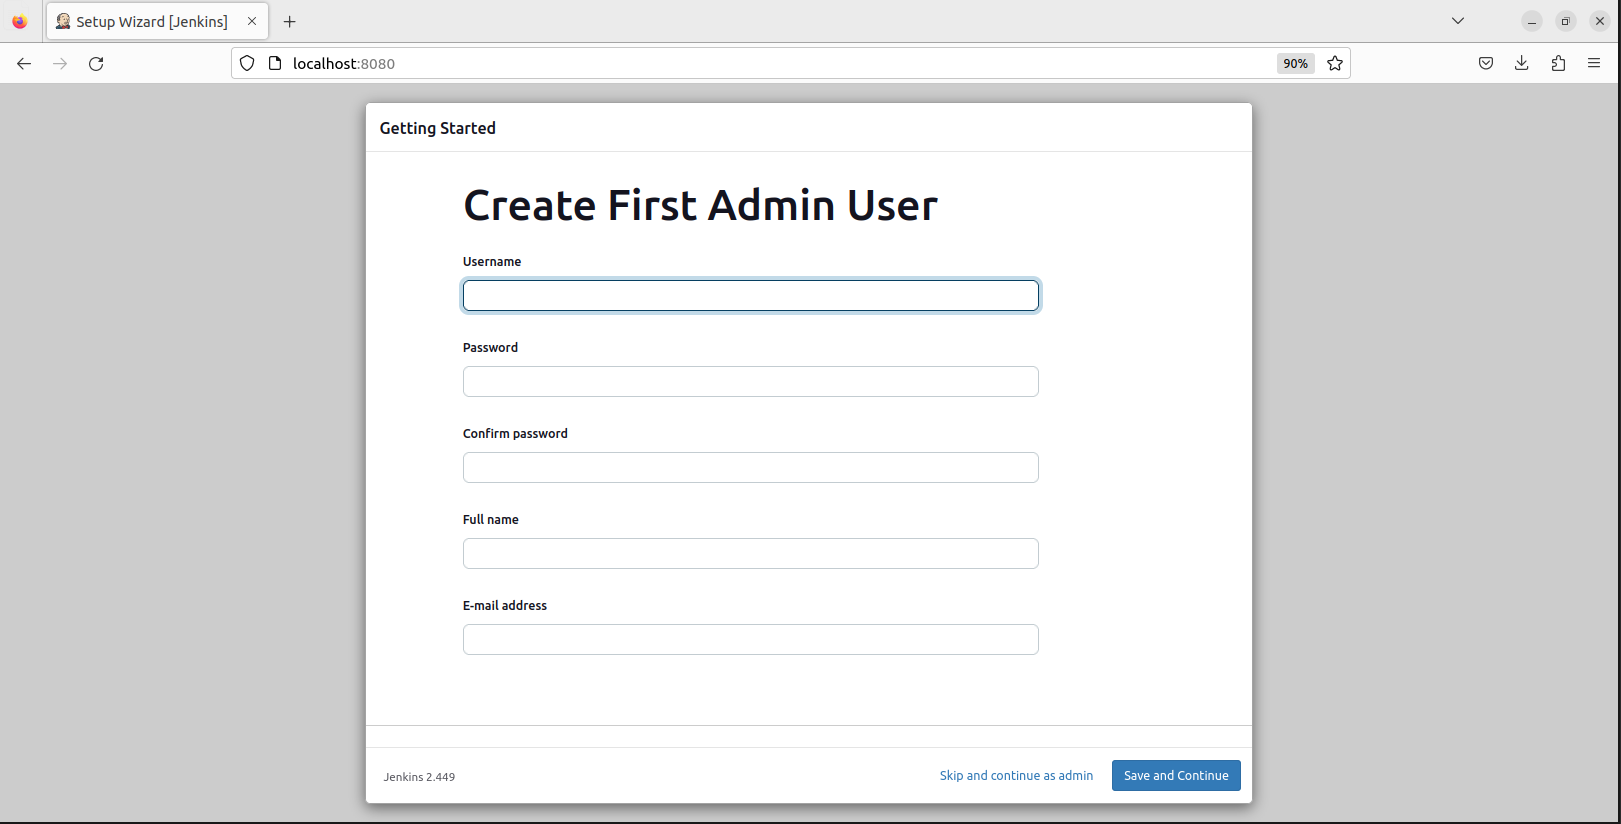
After installing plugins Jenkins asks you to create first admin user. You can skip this step or you can create an account. I am going to create an account.
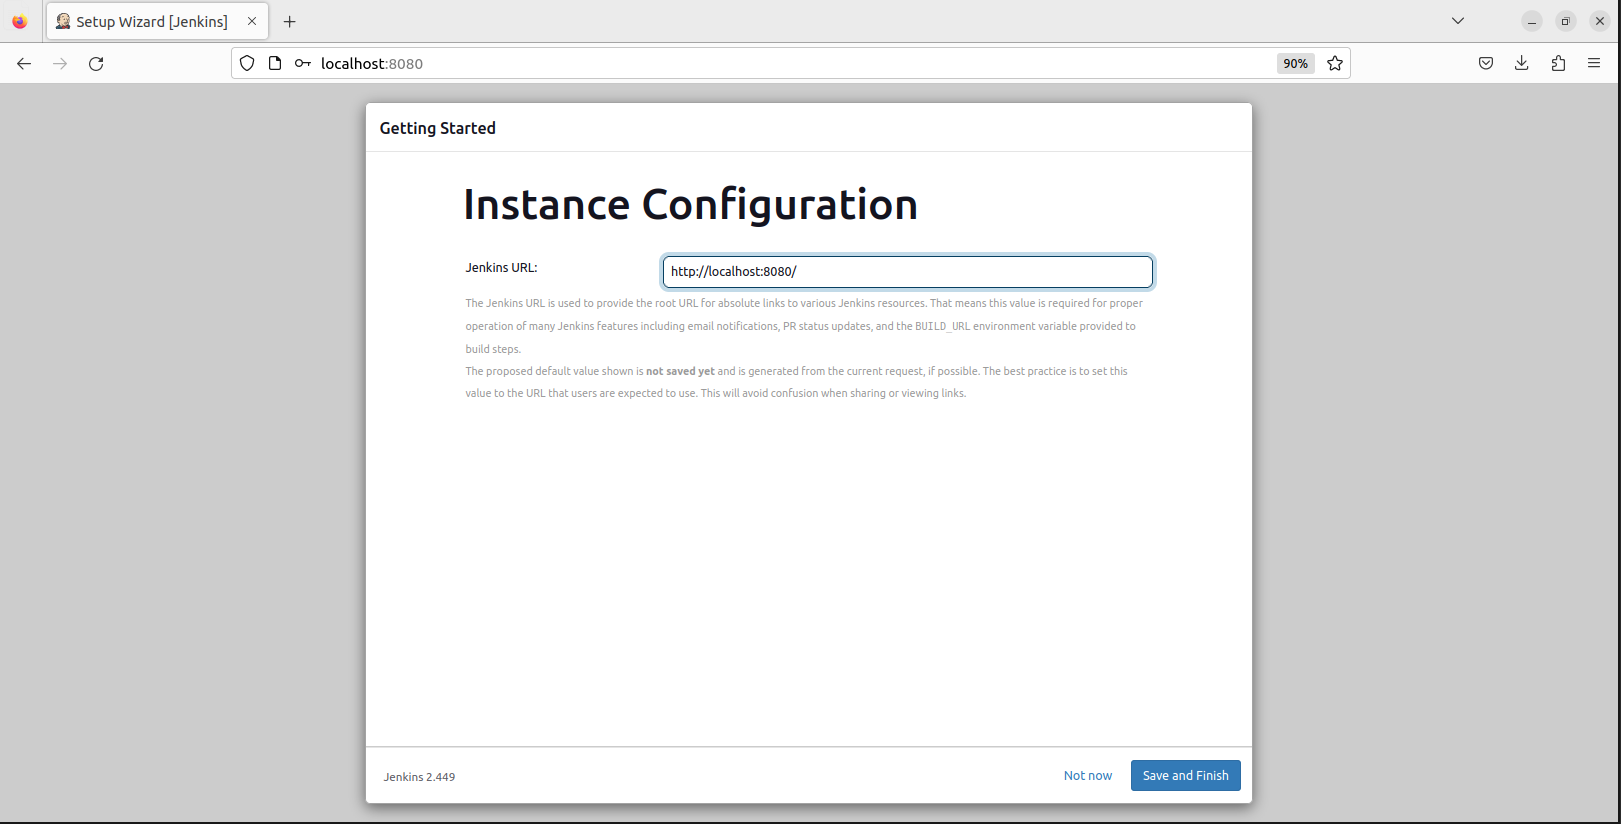
In final step of installation Jenkins asks you the url. If you are not in cloud this is not a necessary but 8080 port is a common port that many applications use as default port. Changing the port maybe have some advantages.
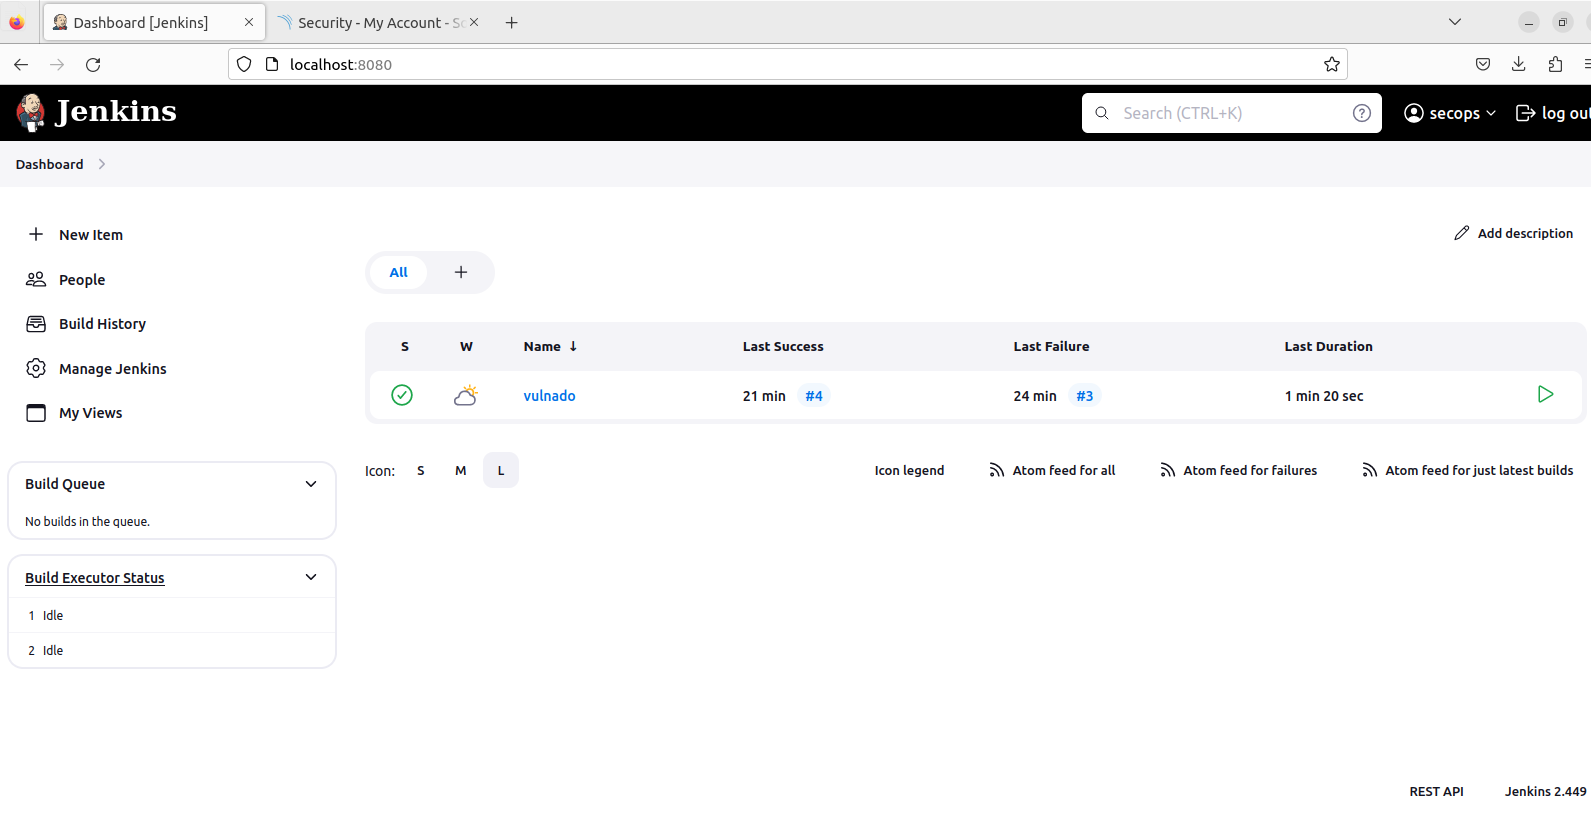
And here Jenkins main page.
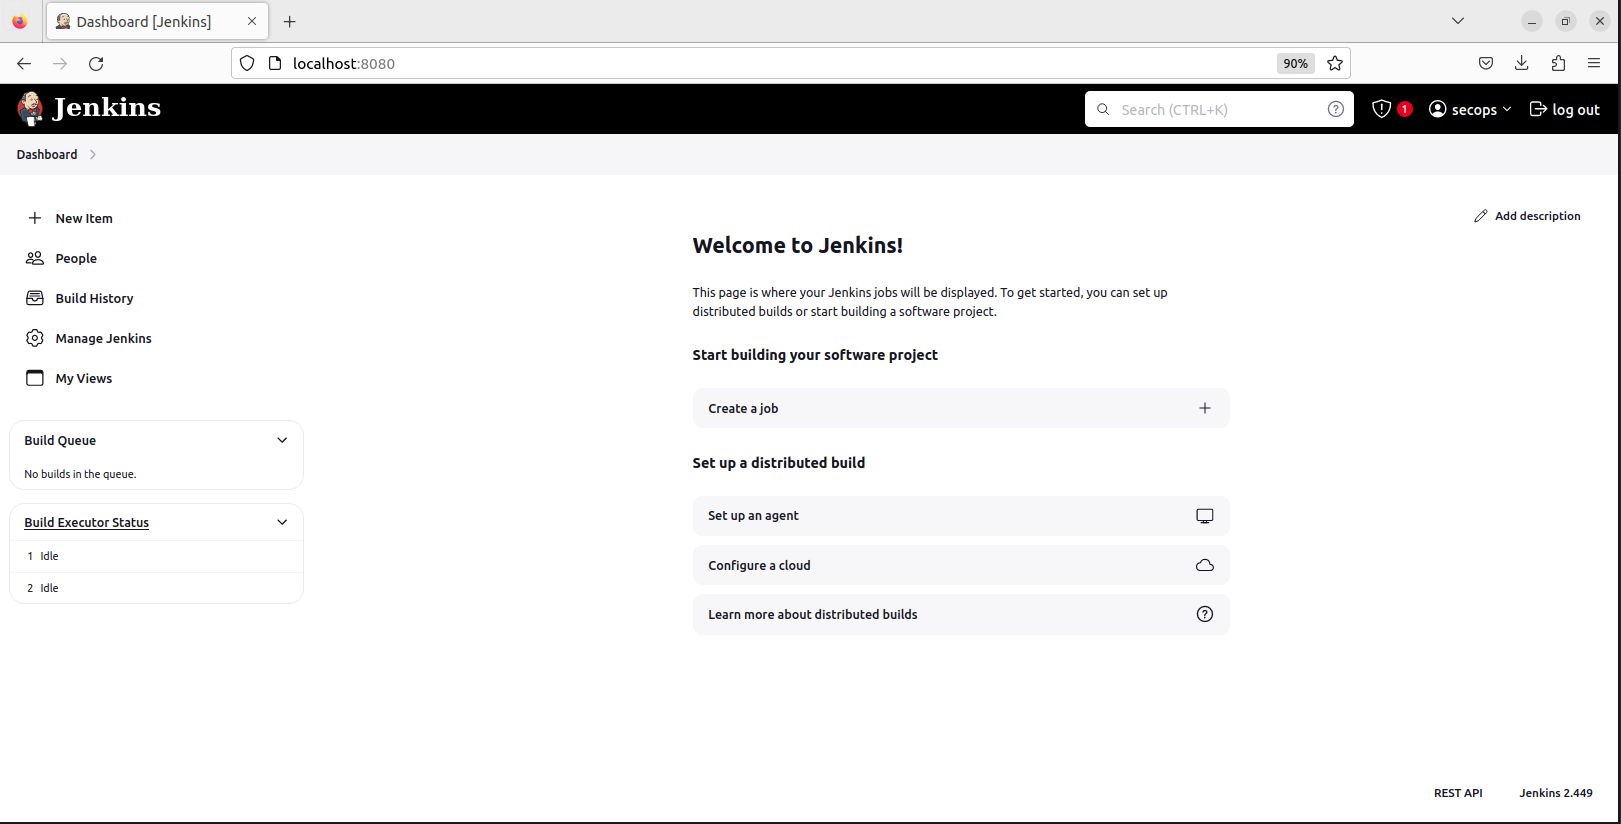
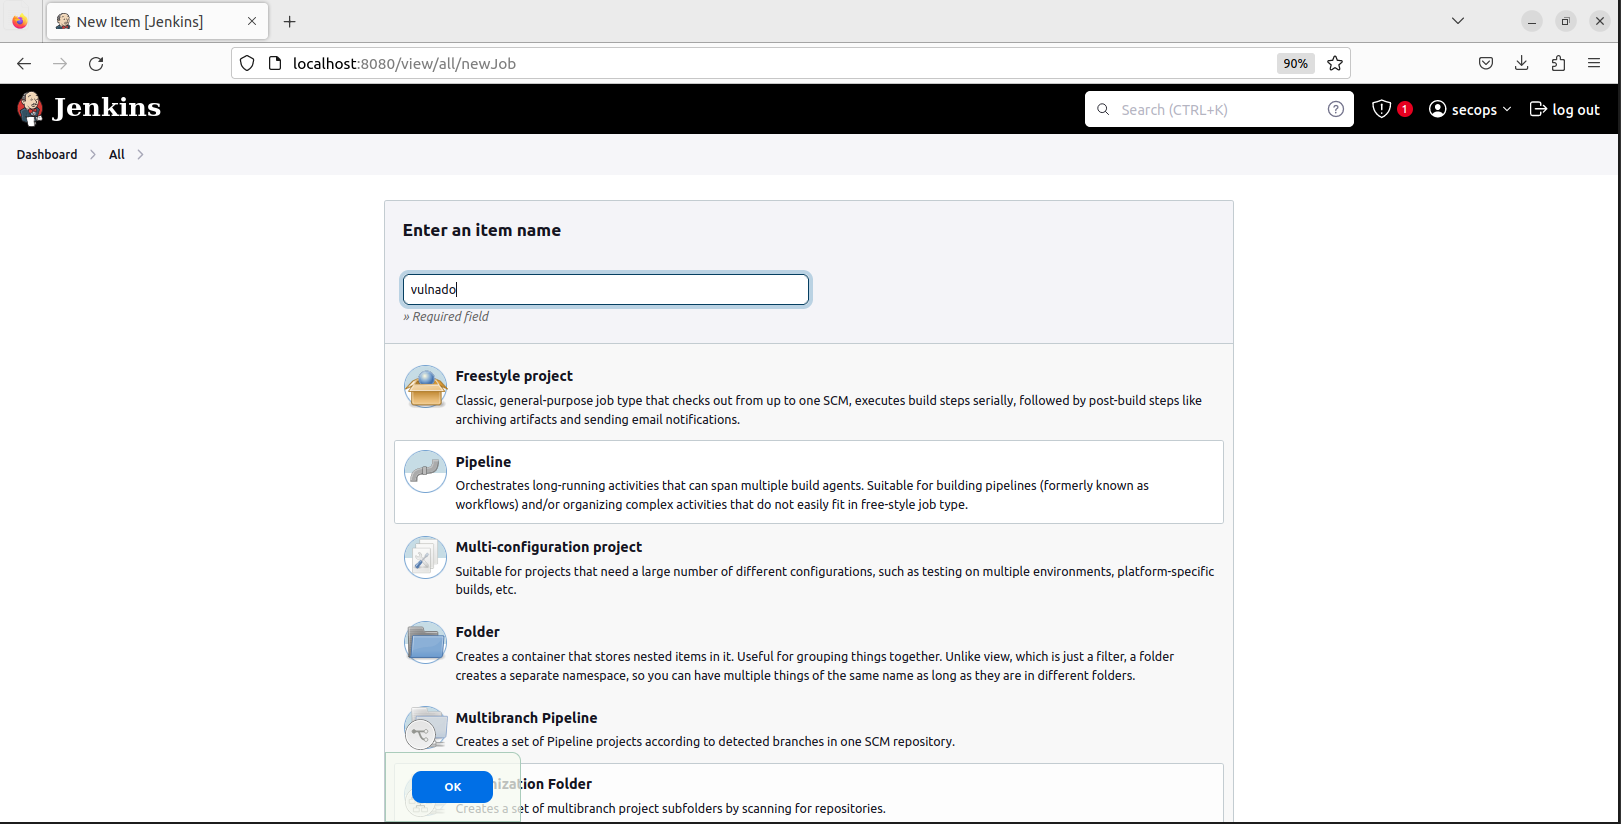
Let’s start to create the pipeline. Press “New Item” select Pipeline and give a name to item
In the opened page scroll down and get to the Pipeline. This is the editor we are going to edit our pipeline.
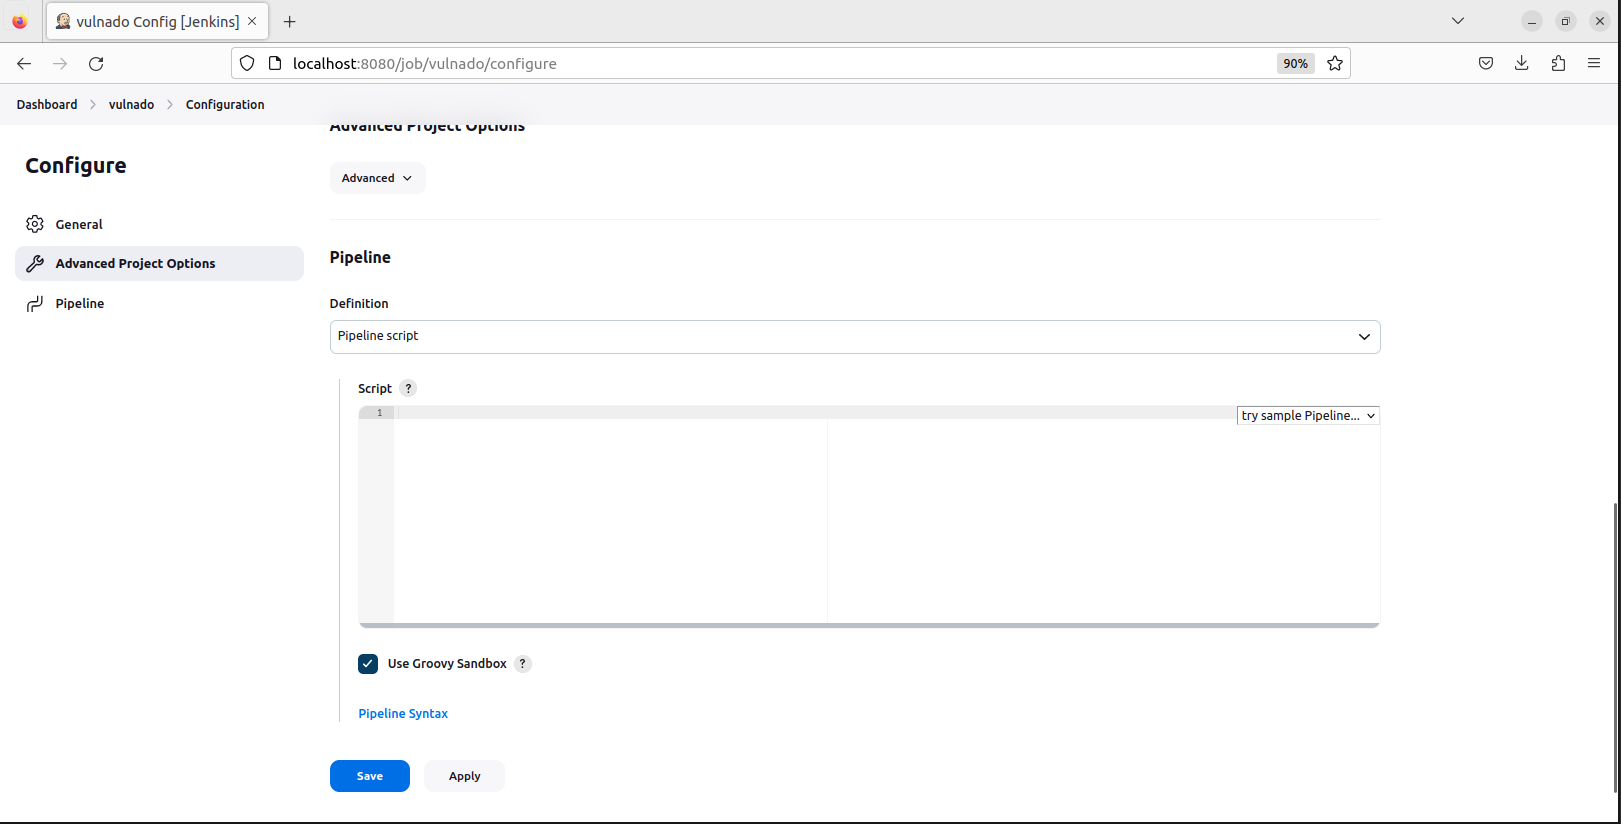
Jenkins have a syntax for pipeline scripting. But it is easy to understand and use.
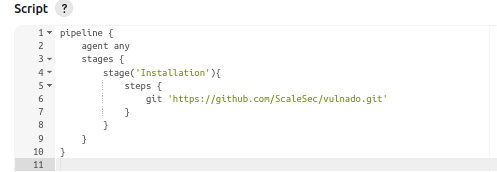
In first step of our pipeline will be the installation step. We are going to install Vulnado with git so we need to install git before.

This will be the first part of our pipeline, installation of project.
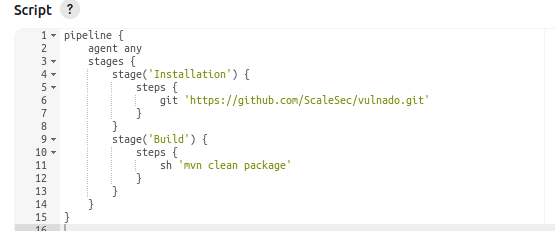
Second part of our pipeline, building the project (before build ‘sudo apt-get install maven -y’)
After build the project your pipeline should look like this.
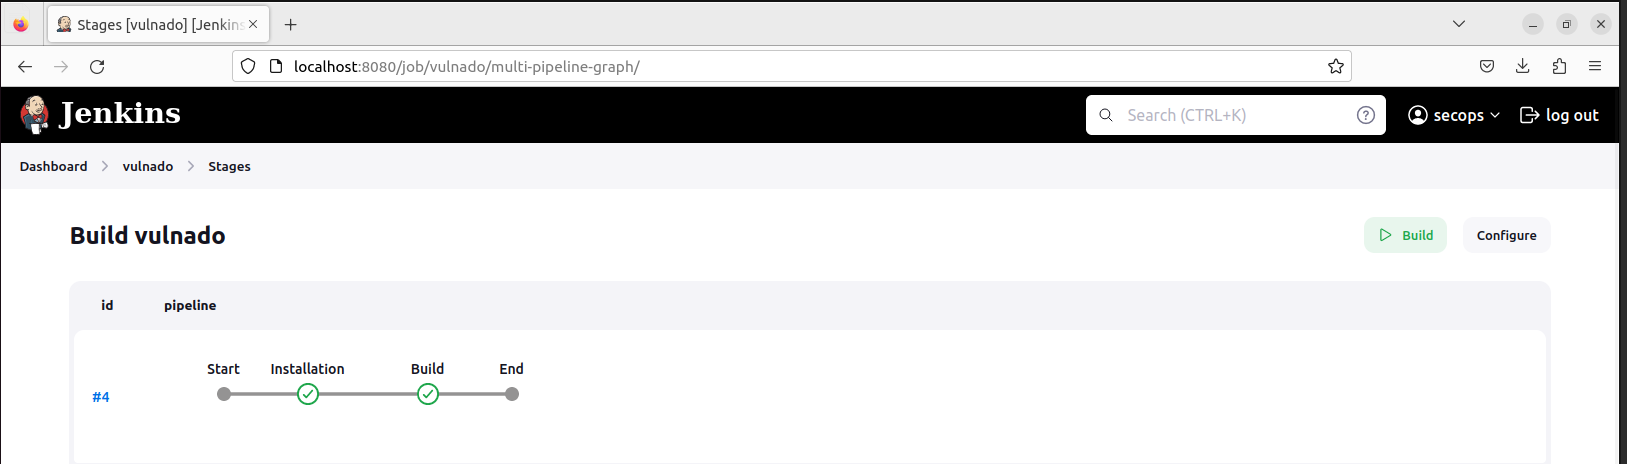
Okey, we have installed and builded the project in Jenkins. This is good so let’s start security testing
We have installed docker. I run ‘docker pull sonarqube’ command on terminal

We have pulled the sonarqube image now we will run this image in a container (you may need to use docker with super user privileges)

After running container checking is it working

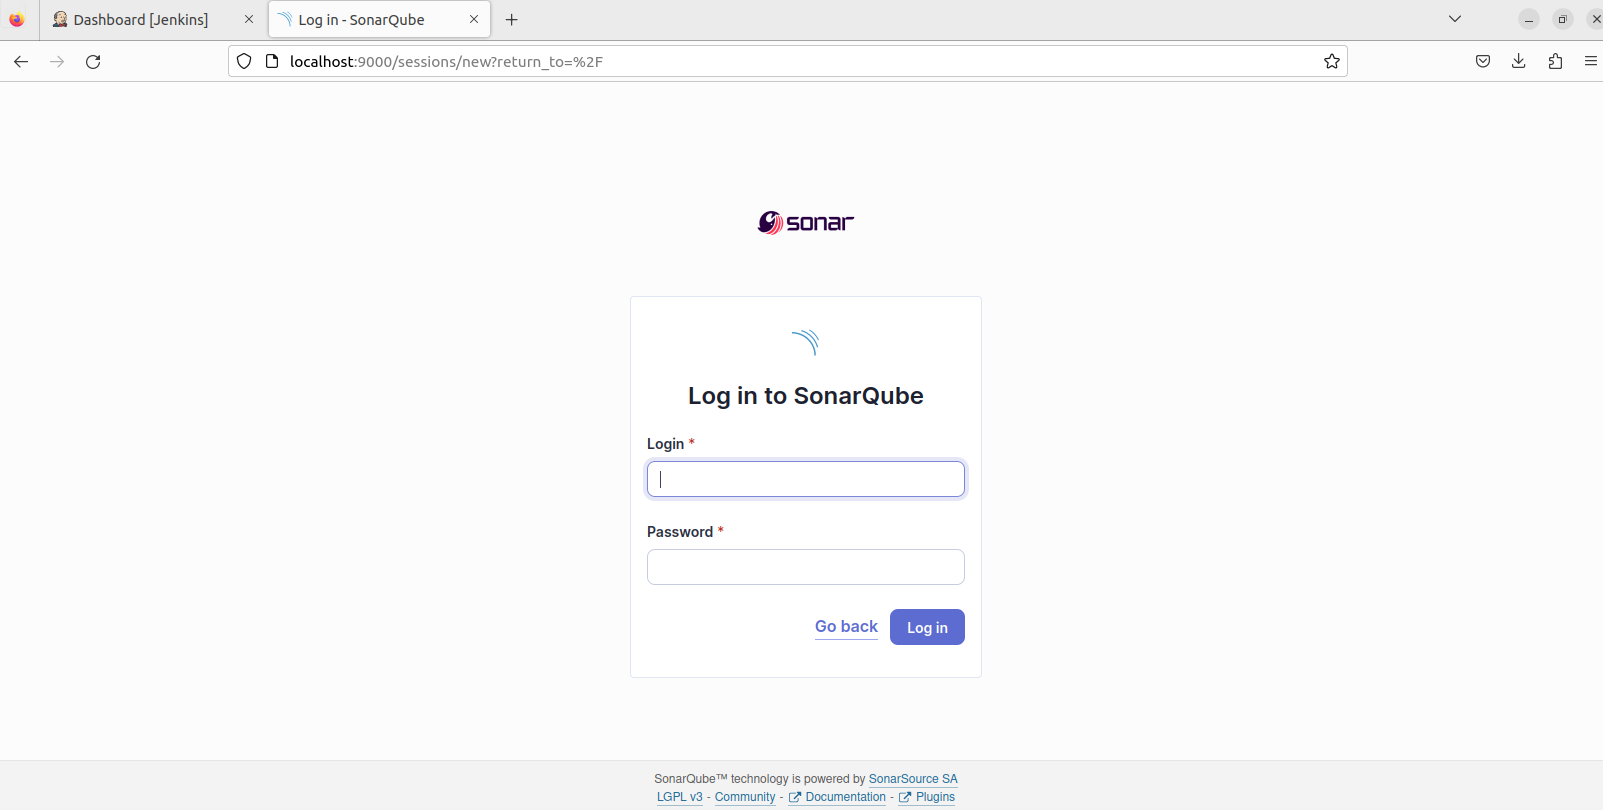
In localhost:9000 I can reach the web interface for sonarqube default credential is admin:admin
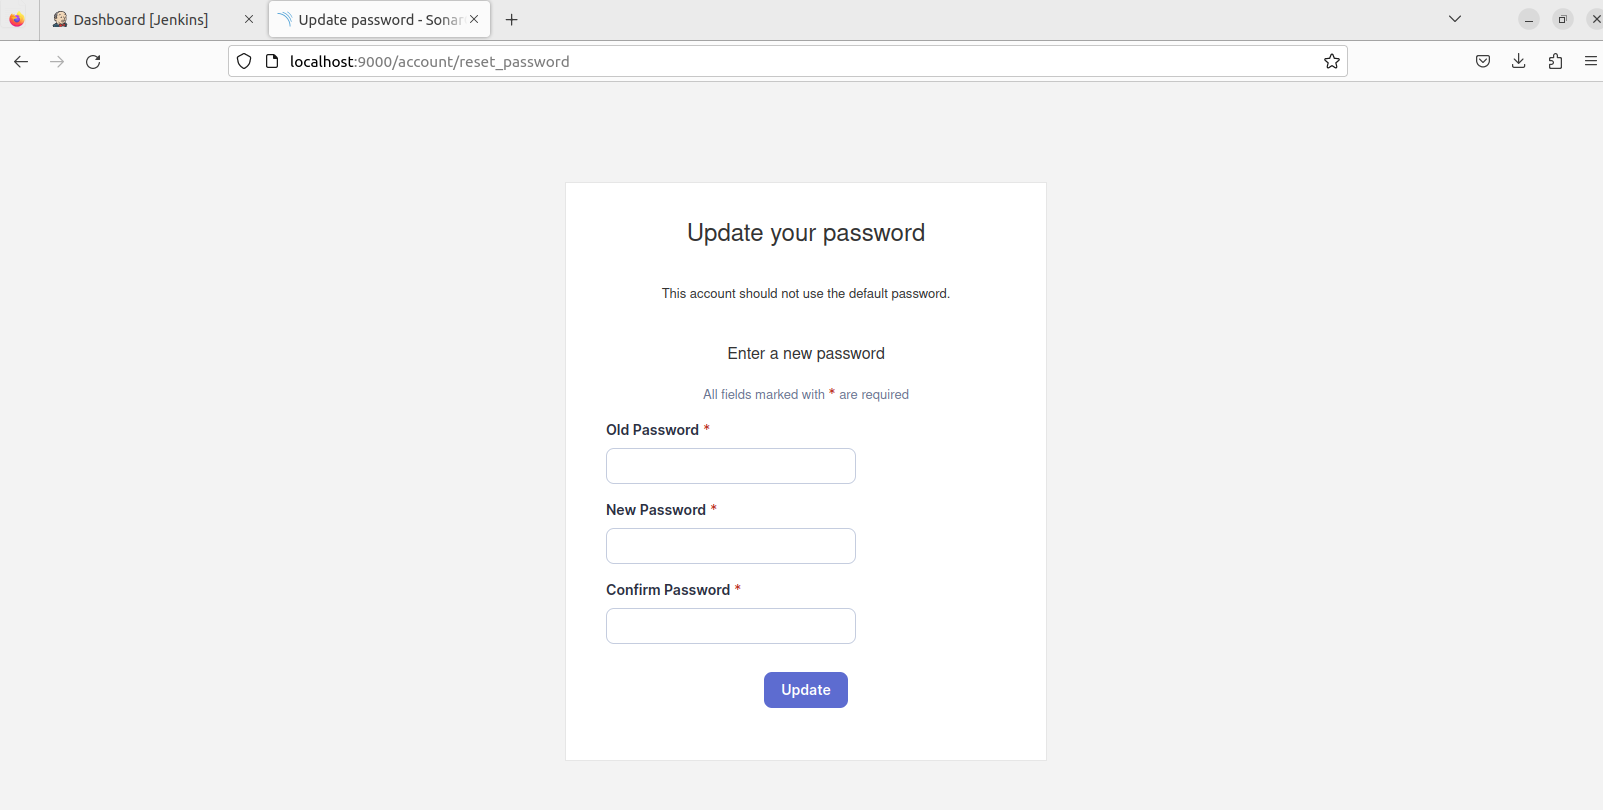
Reset your password
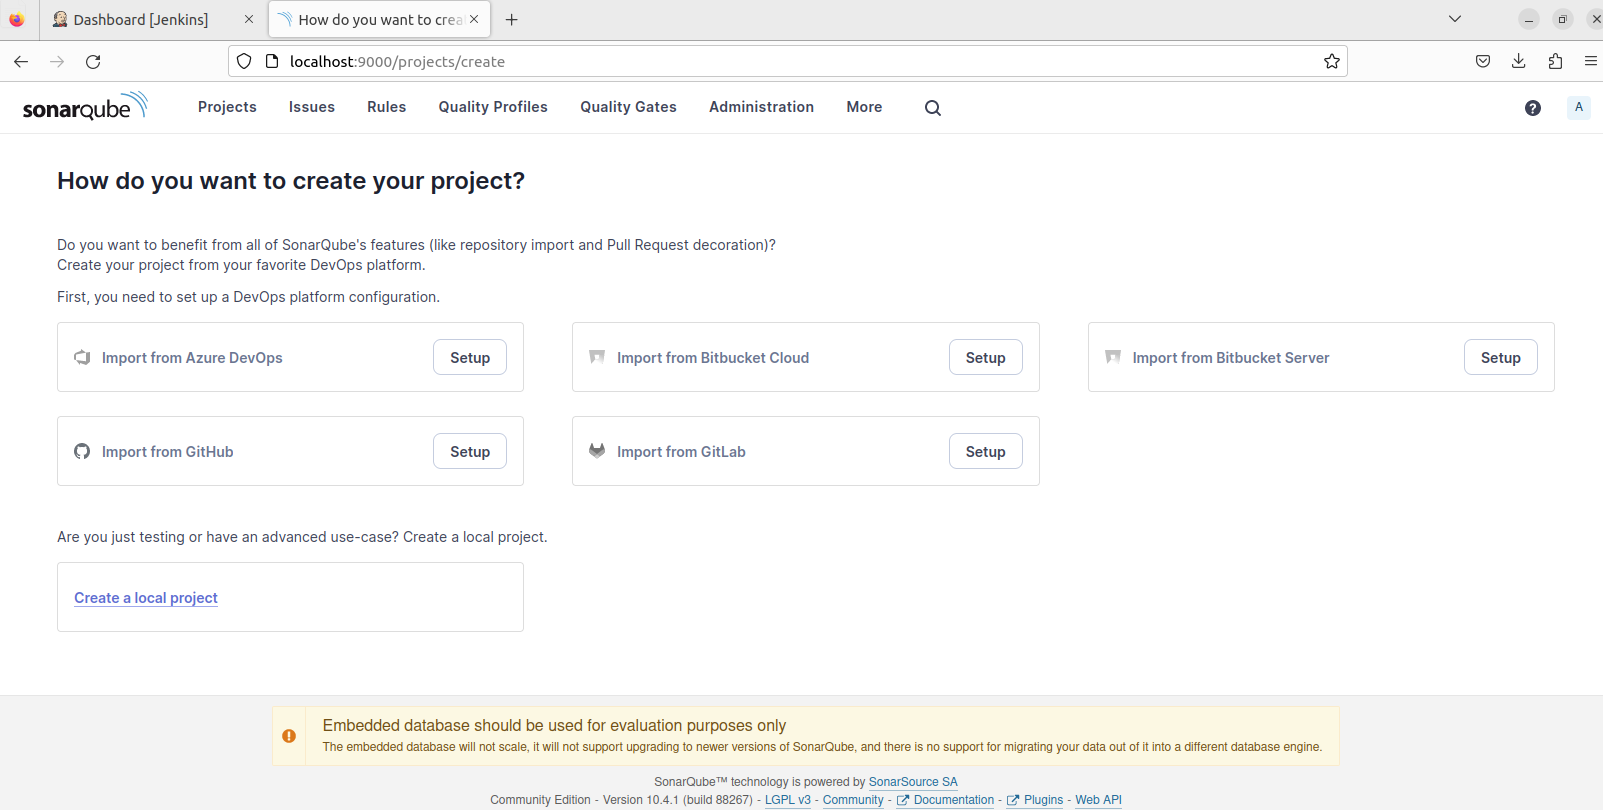
Choose “Create a local project”
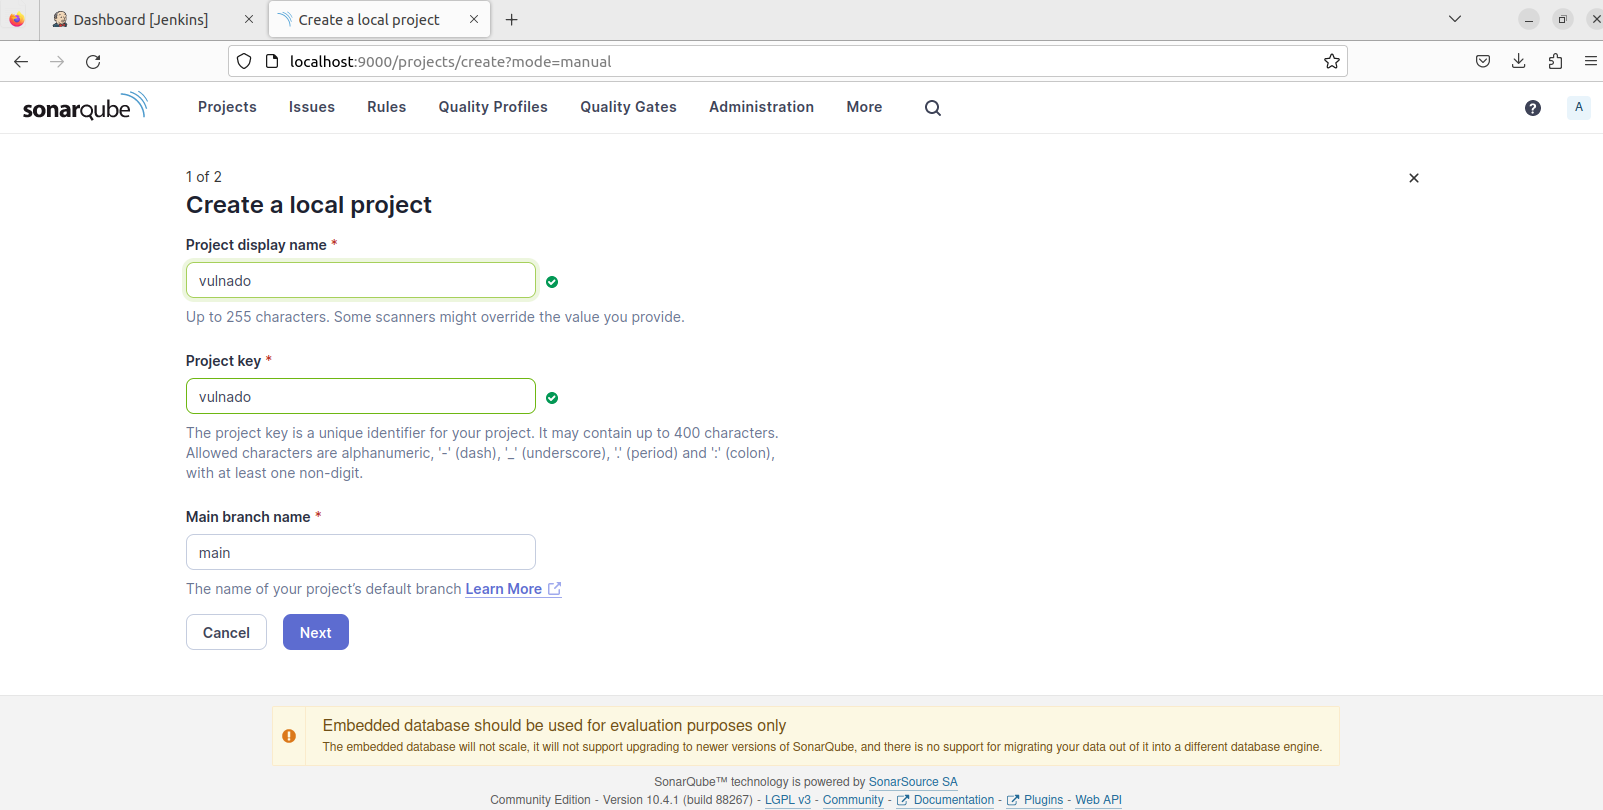
Fill the name and key
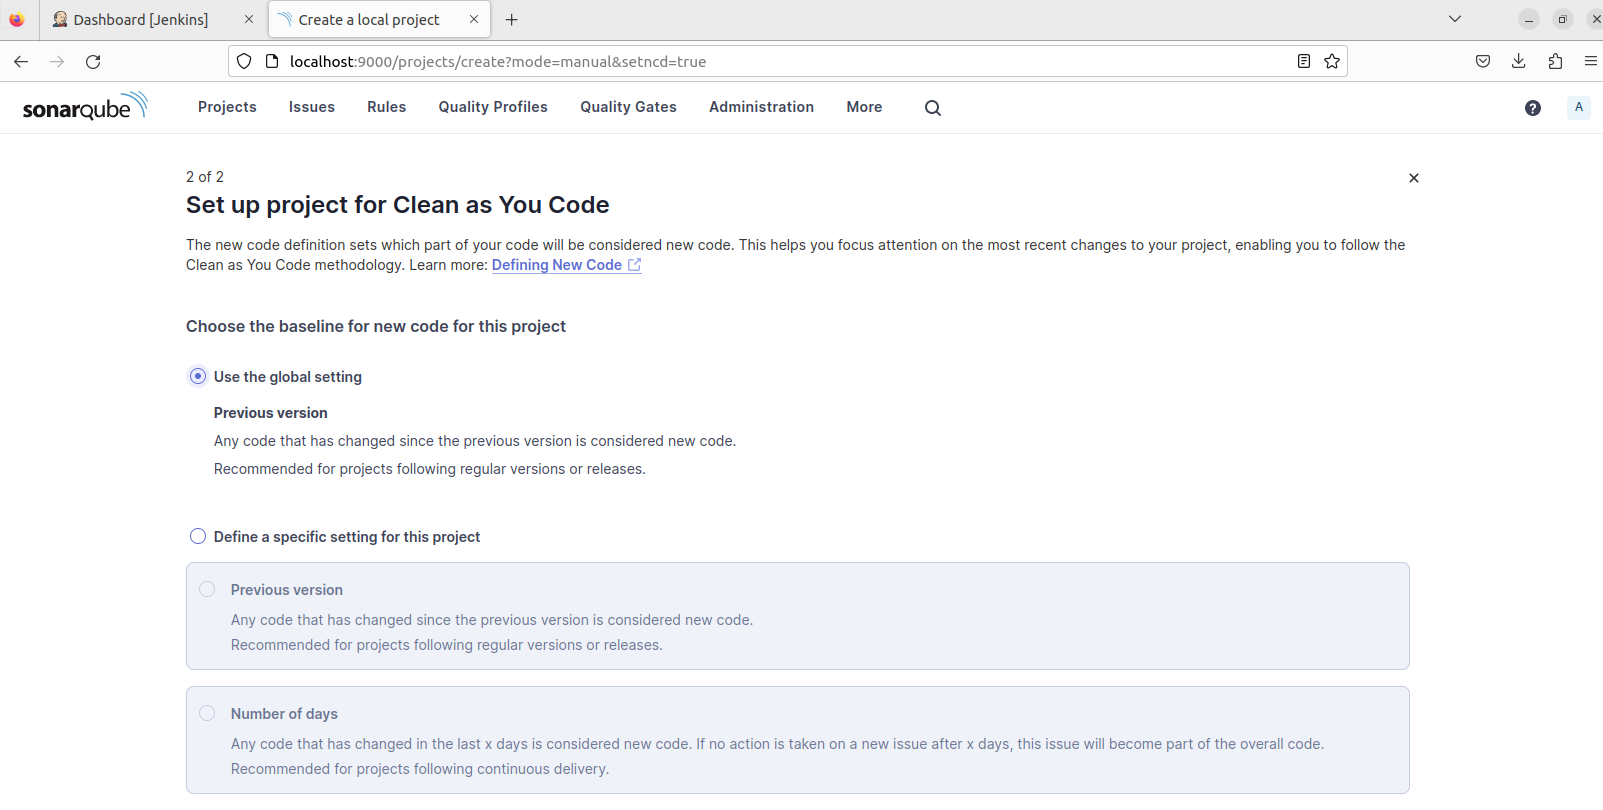
Choose “Use global settings”
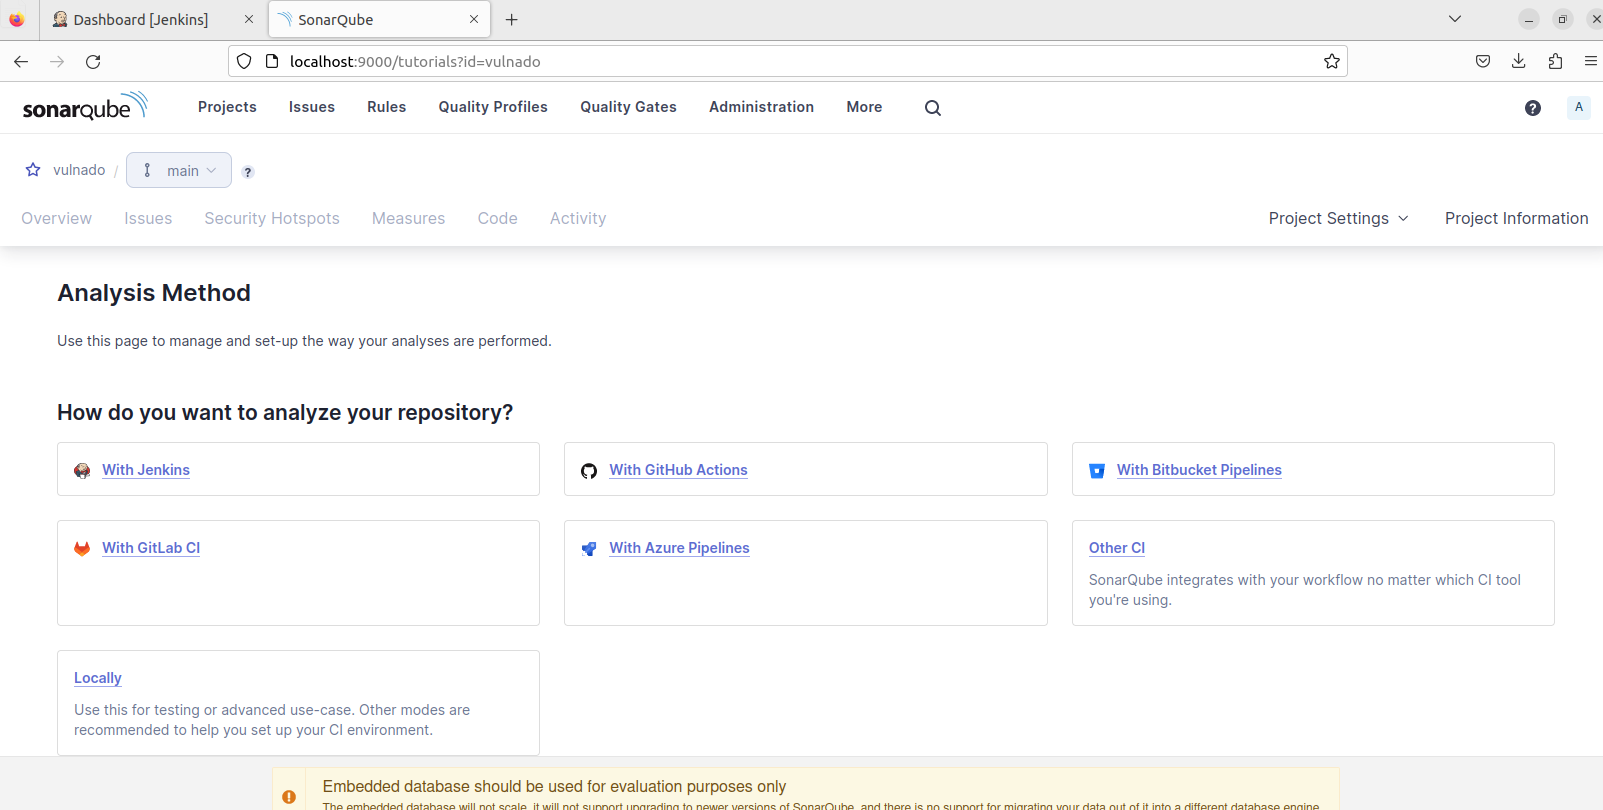
Choose Jenkins as analysis method
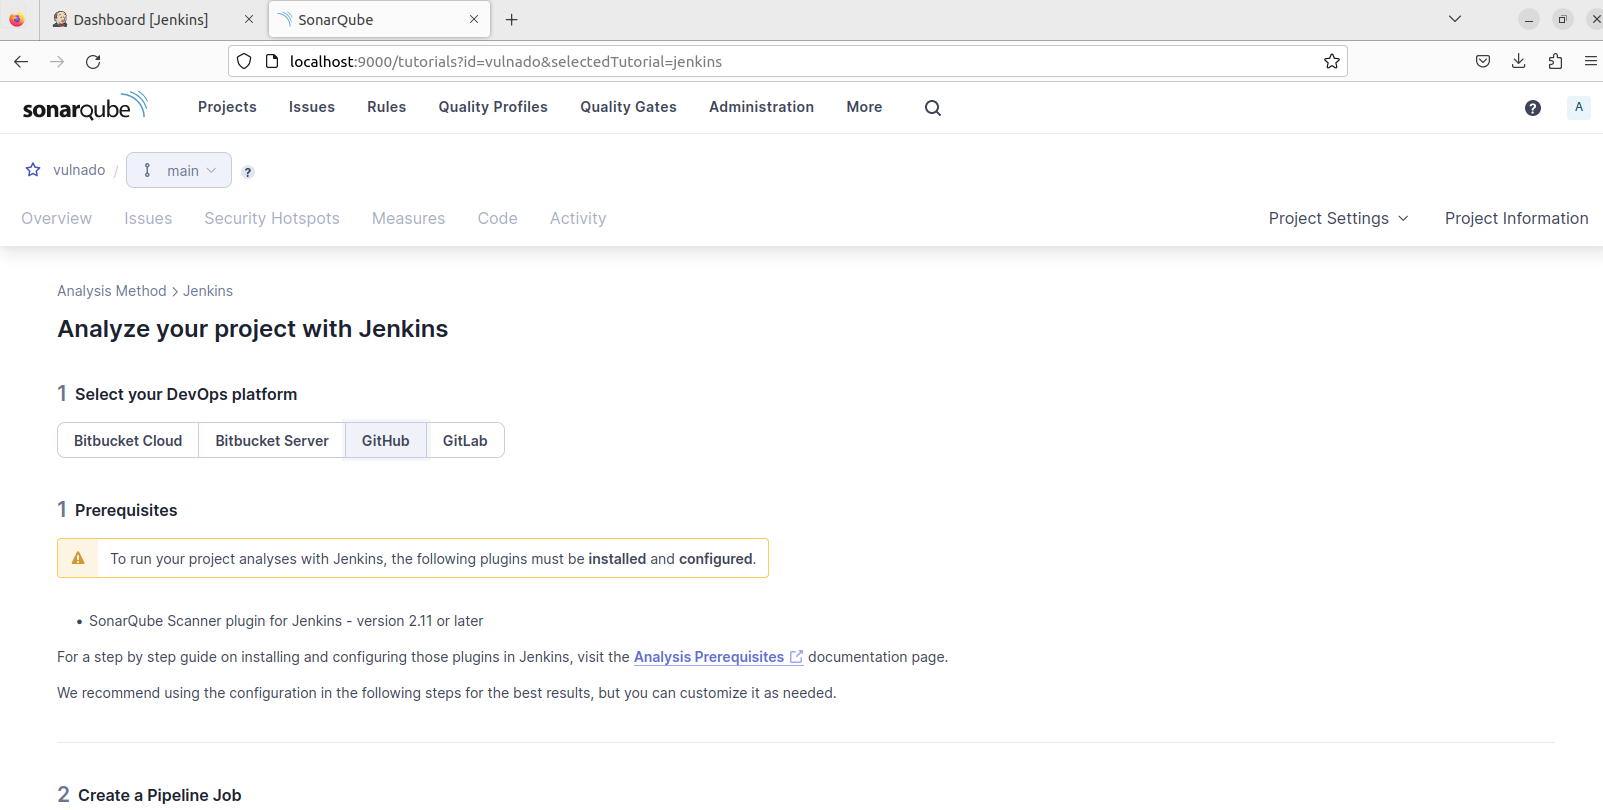
Choose GitHub
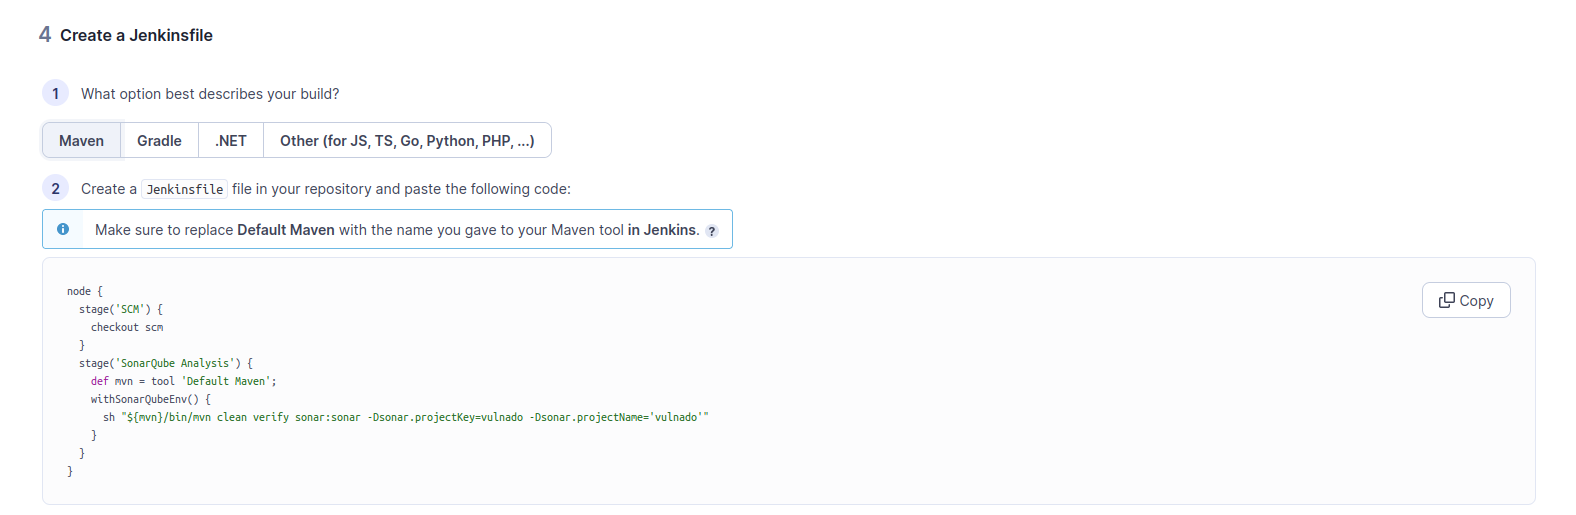
Choose maven, and SonarQube gave us a Jenkins file but this script is not okey to use we will modify it later
Now in SonarQube click account and go to my account
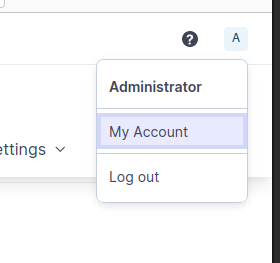
In profile choose security > generate new token and choose global analysis token then generate token. We will use this token in Jenkins for integration
Now go to Jenkins Dashboard and click “Manage Jenkins”
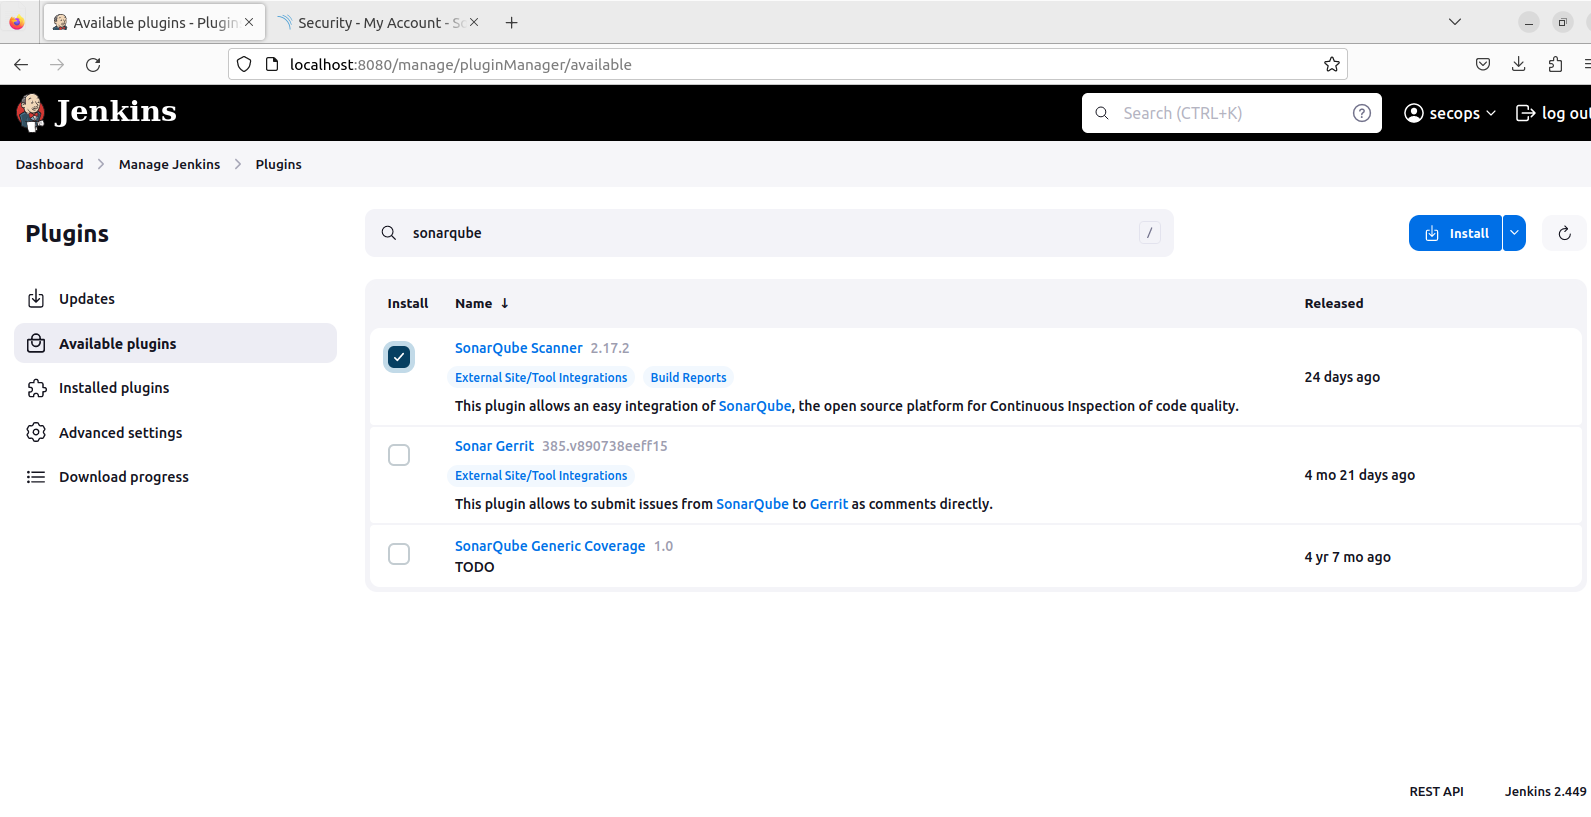
Jenkins Dashboard > Manage Jenkins > Plugins > Available plugins > search “SonarQube”
Go back to Manage Jenkins > Credentials > Add credential
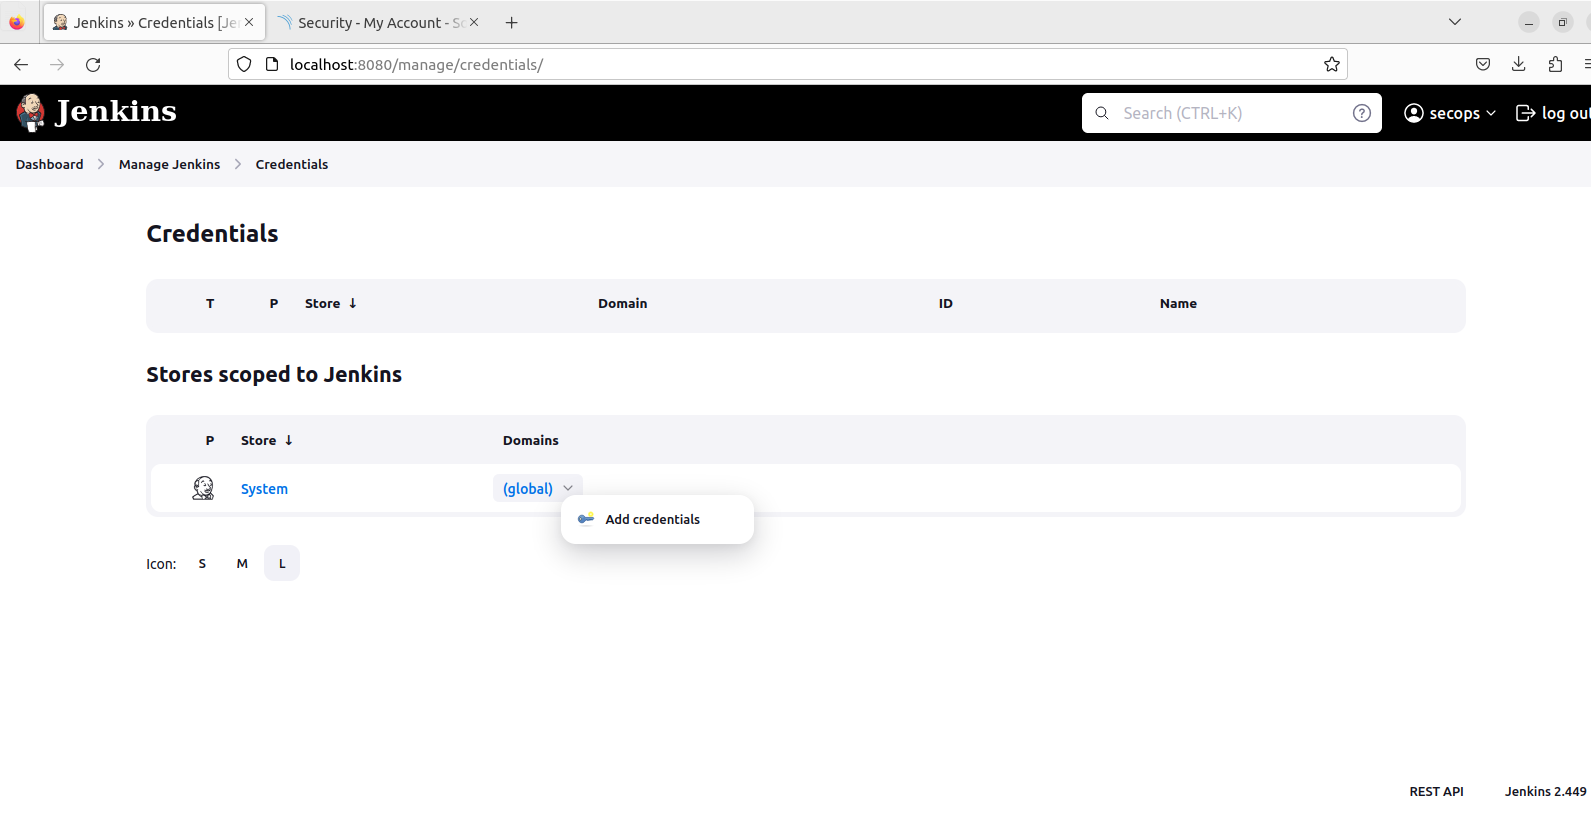
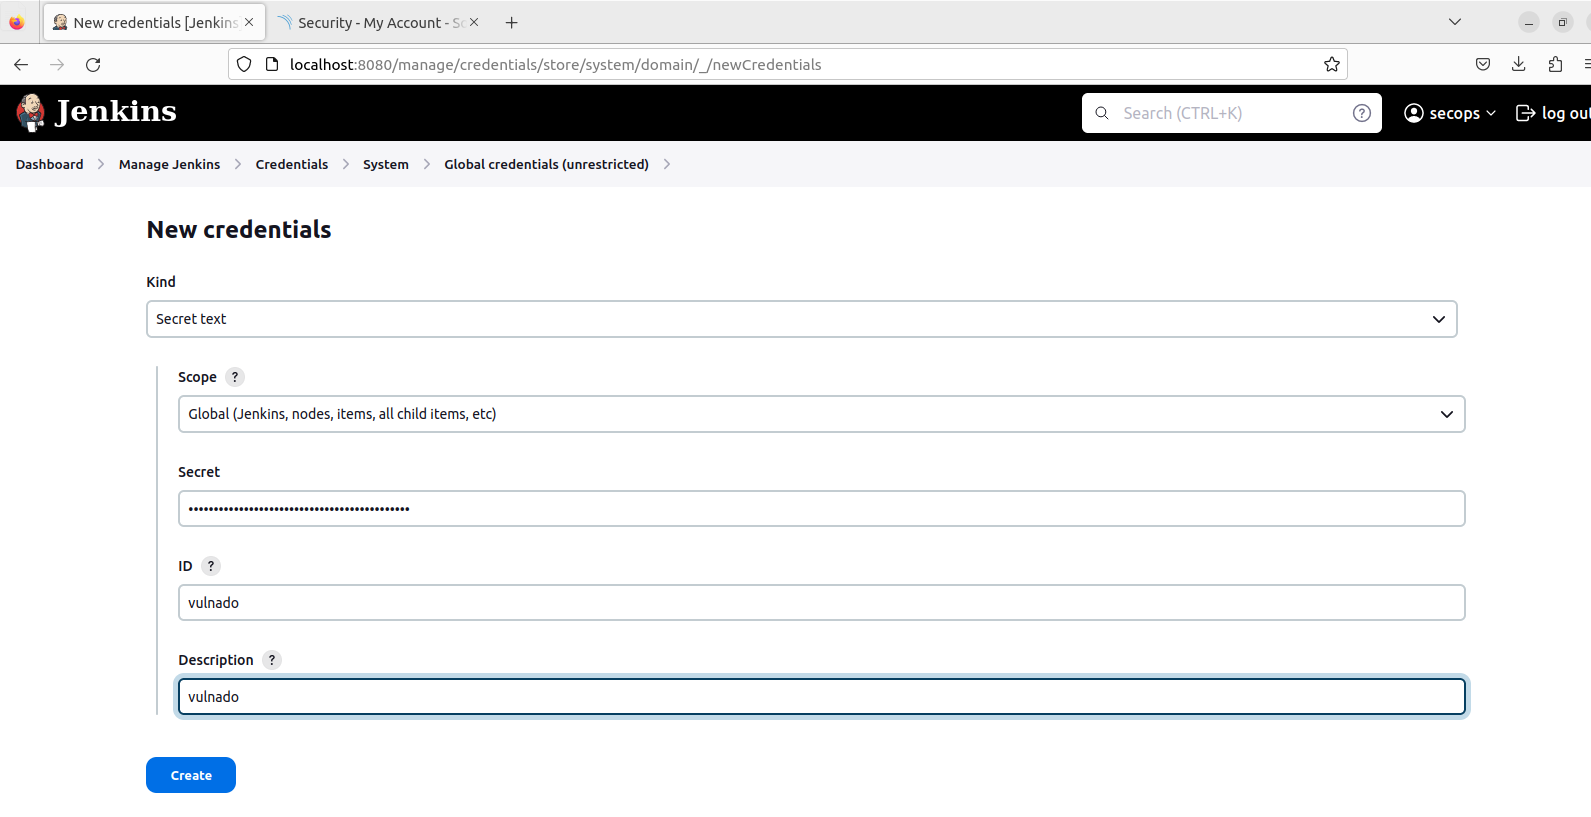
manage jenkins > credentials > system > Global credentials select secret text and paste
SonarQube Global Analysis Token to the secret and write an id
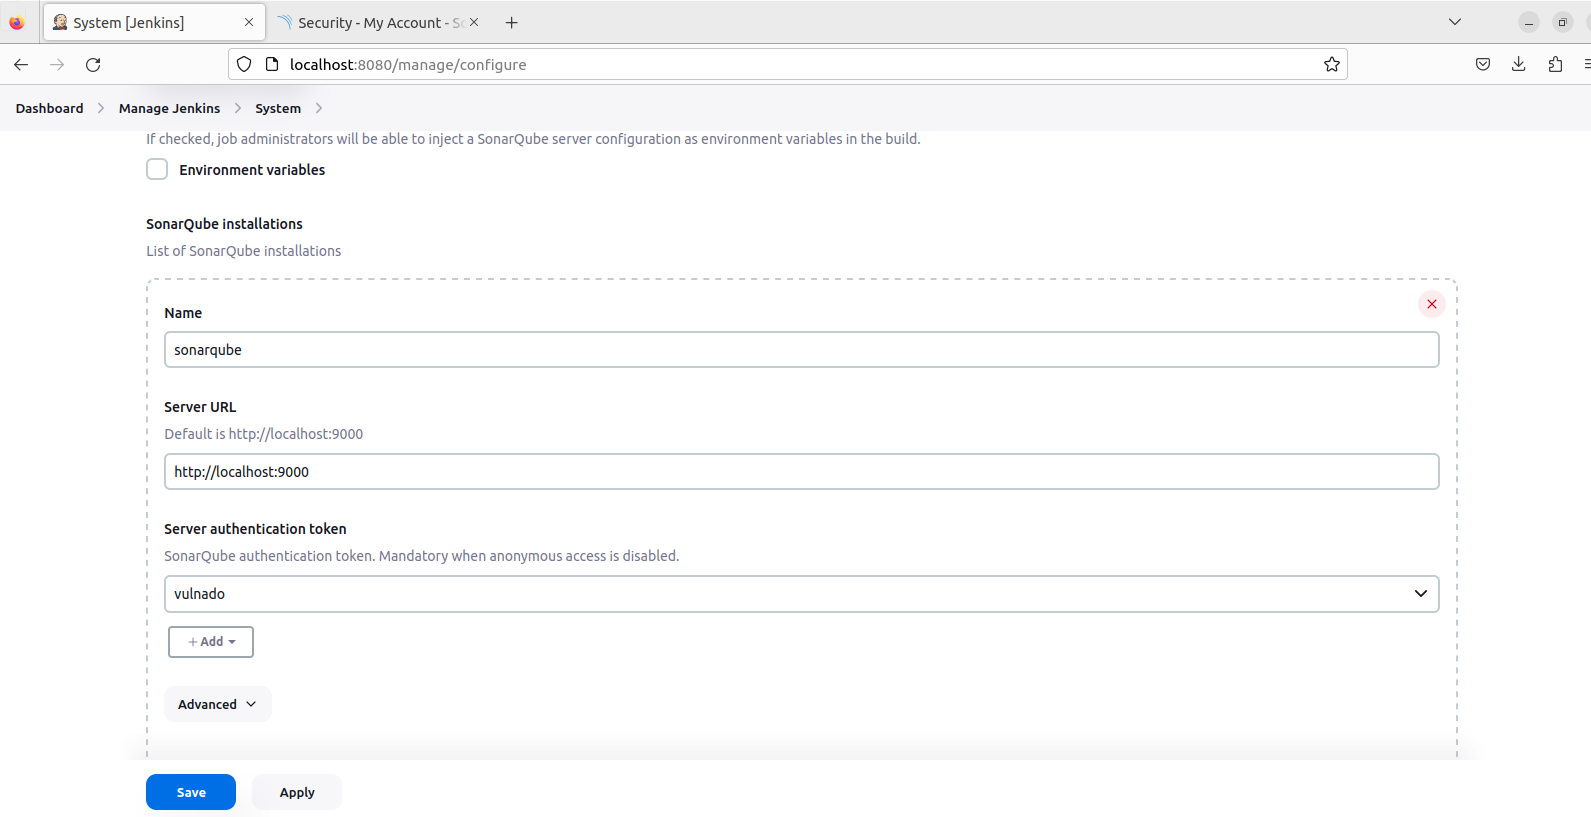
Manage Jenkins > System > Sonarqube installations. Give a name for your sonarqube installation to use in scripts. Write the url of SonarQube and choose secret text for server authentication token
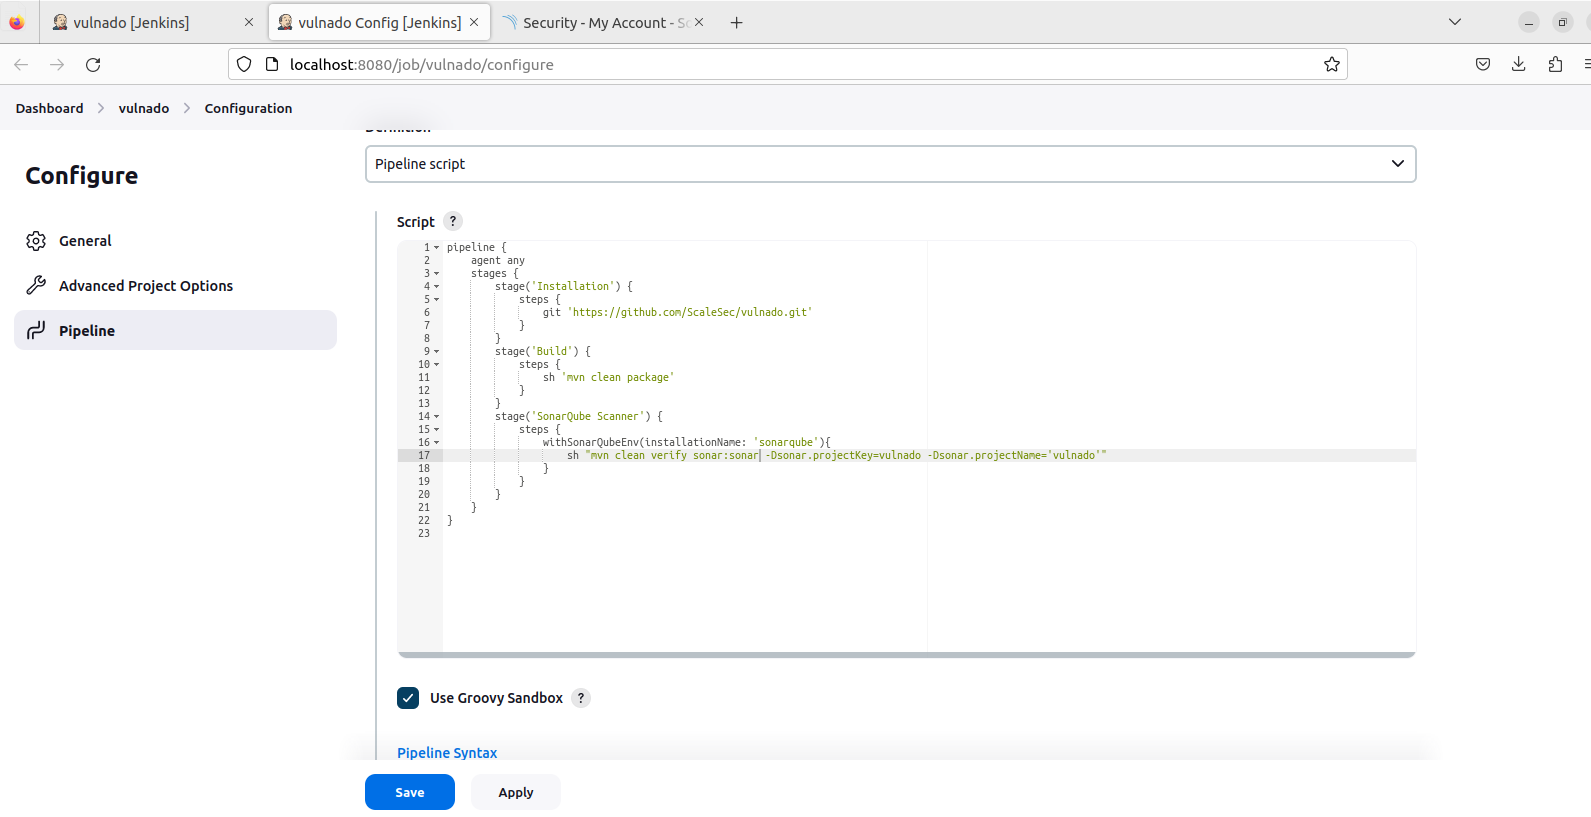
In final your pipeline should look like this
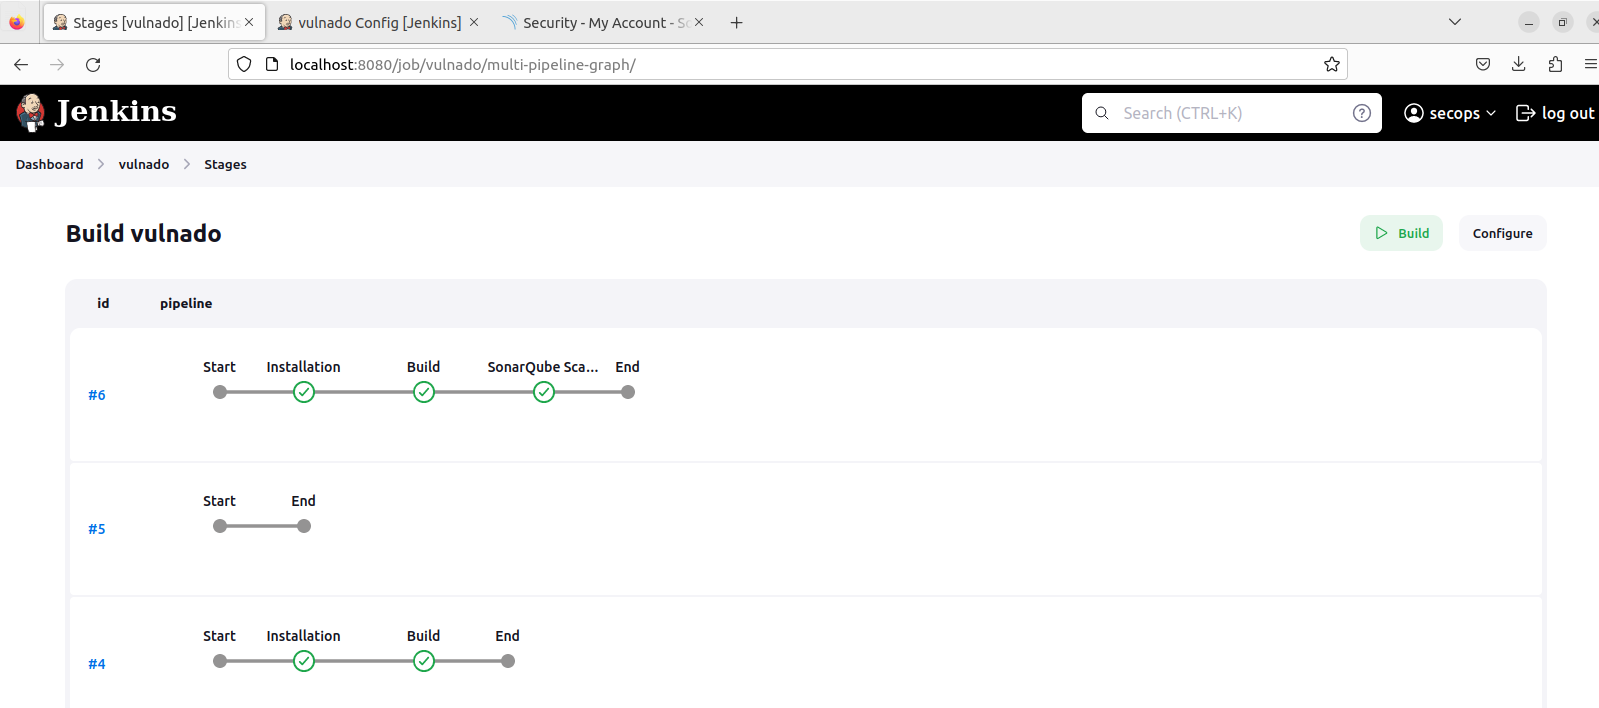
And this is how stages should look like this
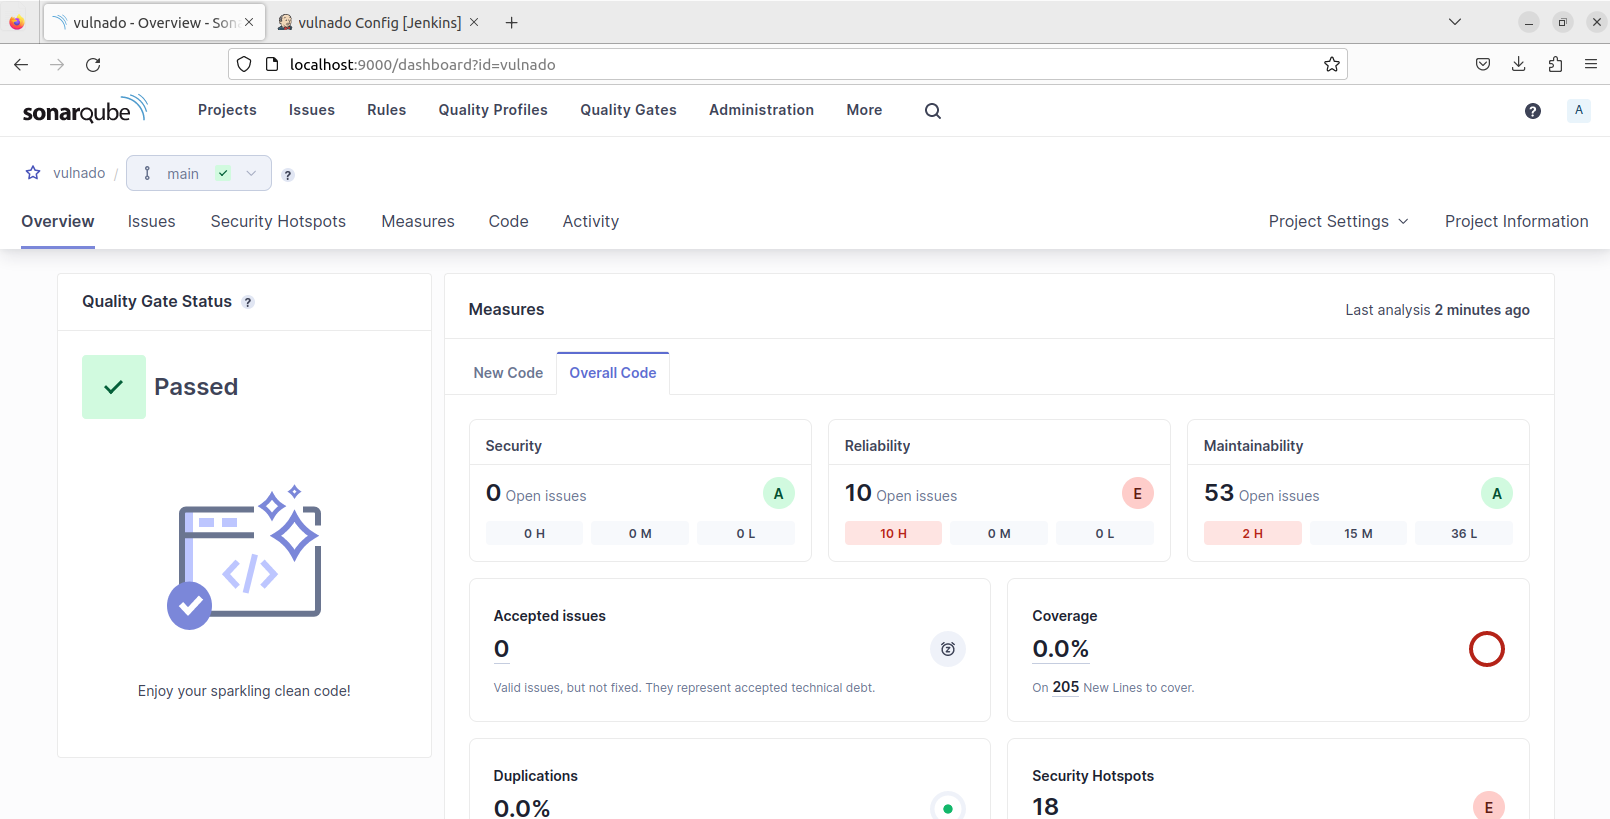
And this is SonarQube dashboard